Leica Q2 Monochrom: Workflow and File Management
Working with images from a natively monochrome sensor requires a radically different approach than working with color. It’s a return to the discipline of film: the image is constructed from the ground up, and it takes physical shape through light and optical filters, even before digital processing.

B+W and Leica color filters.
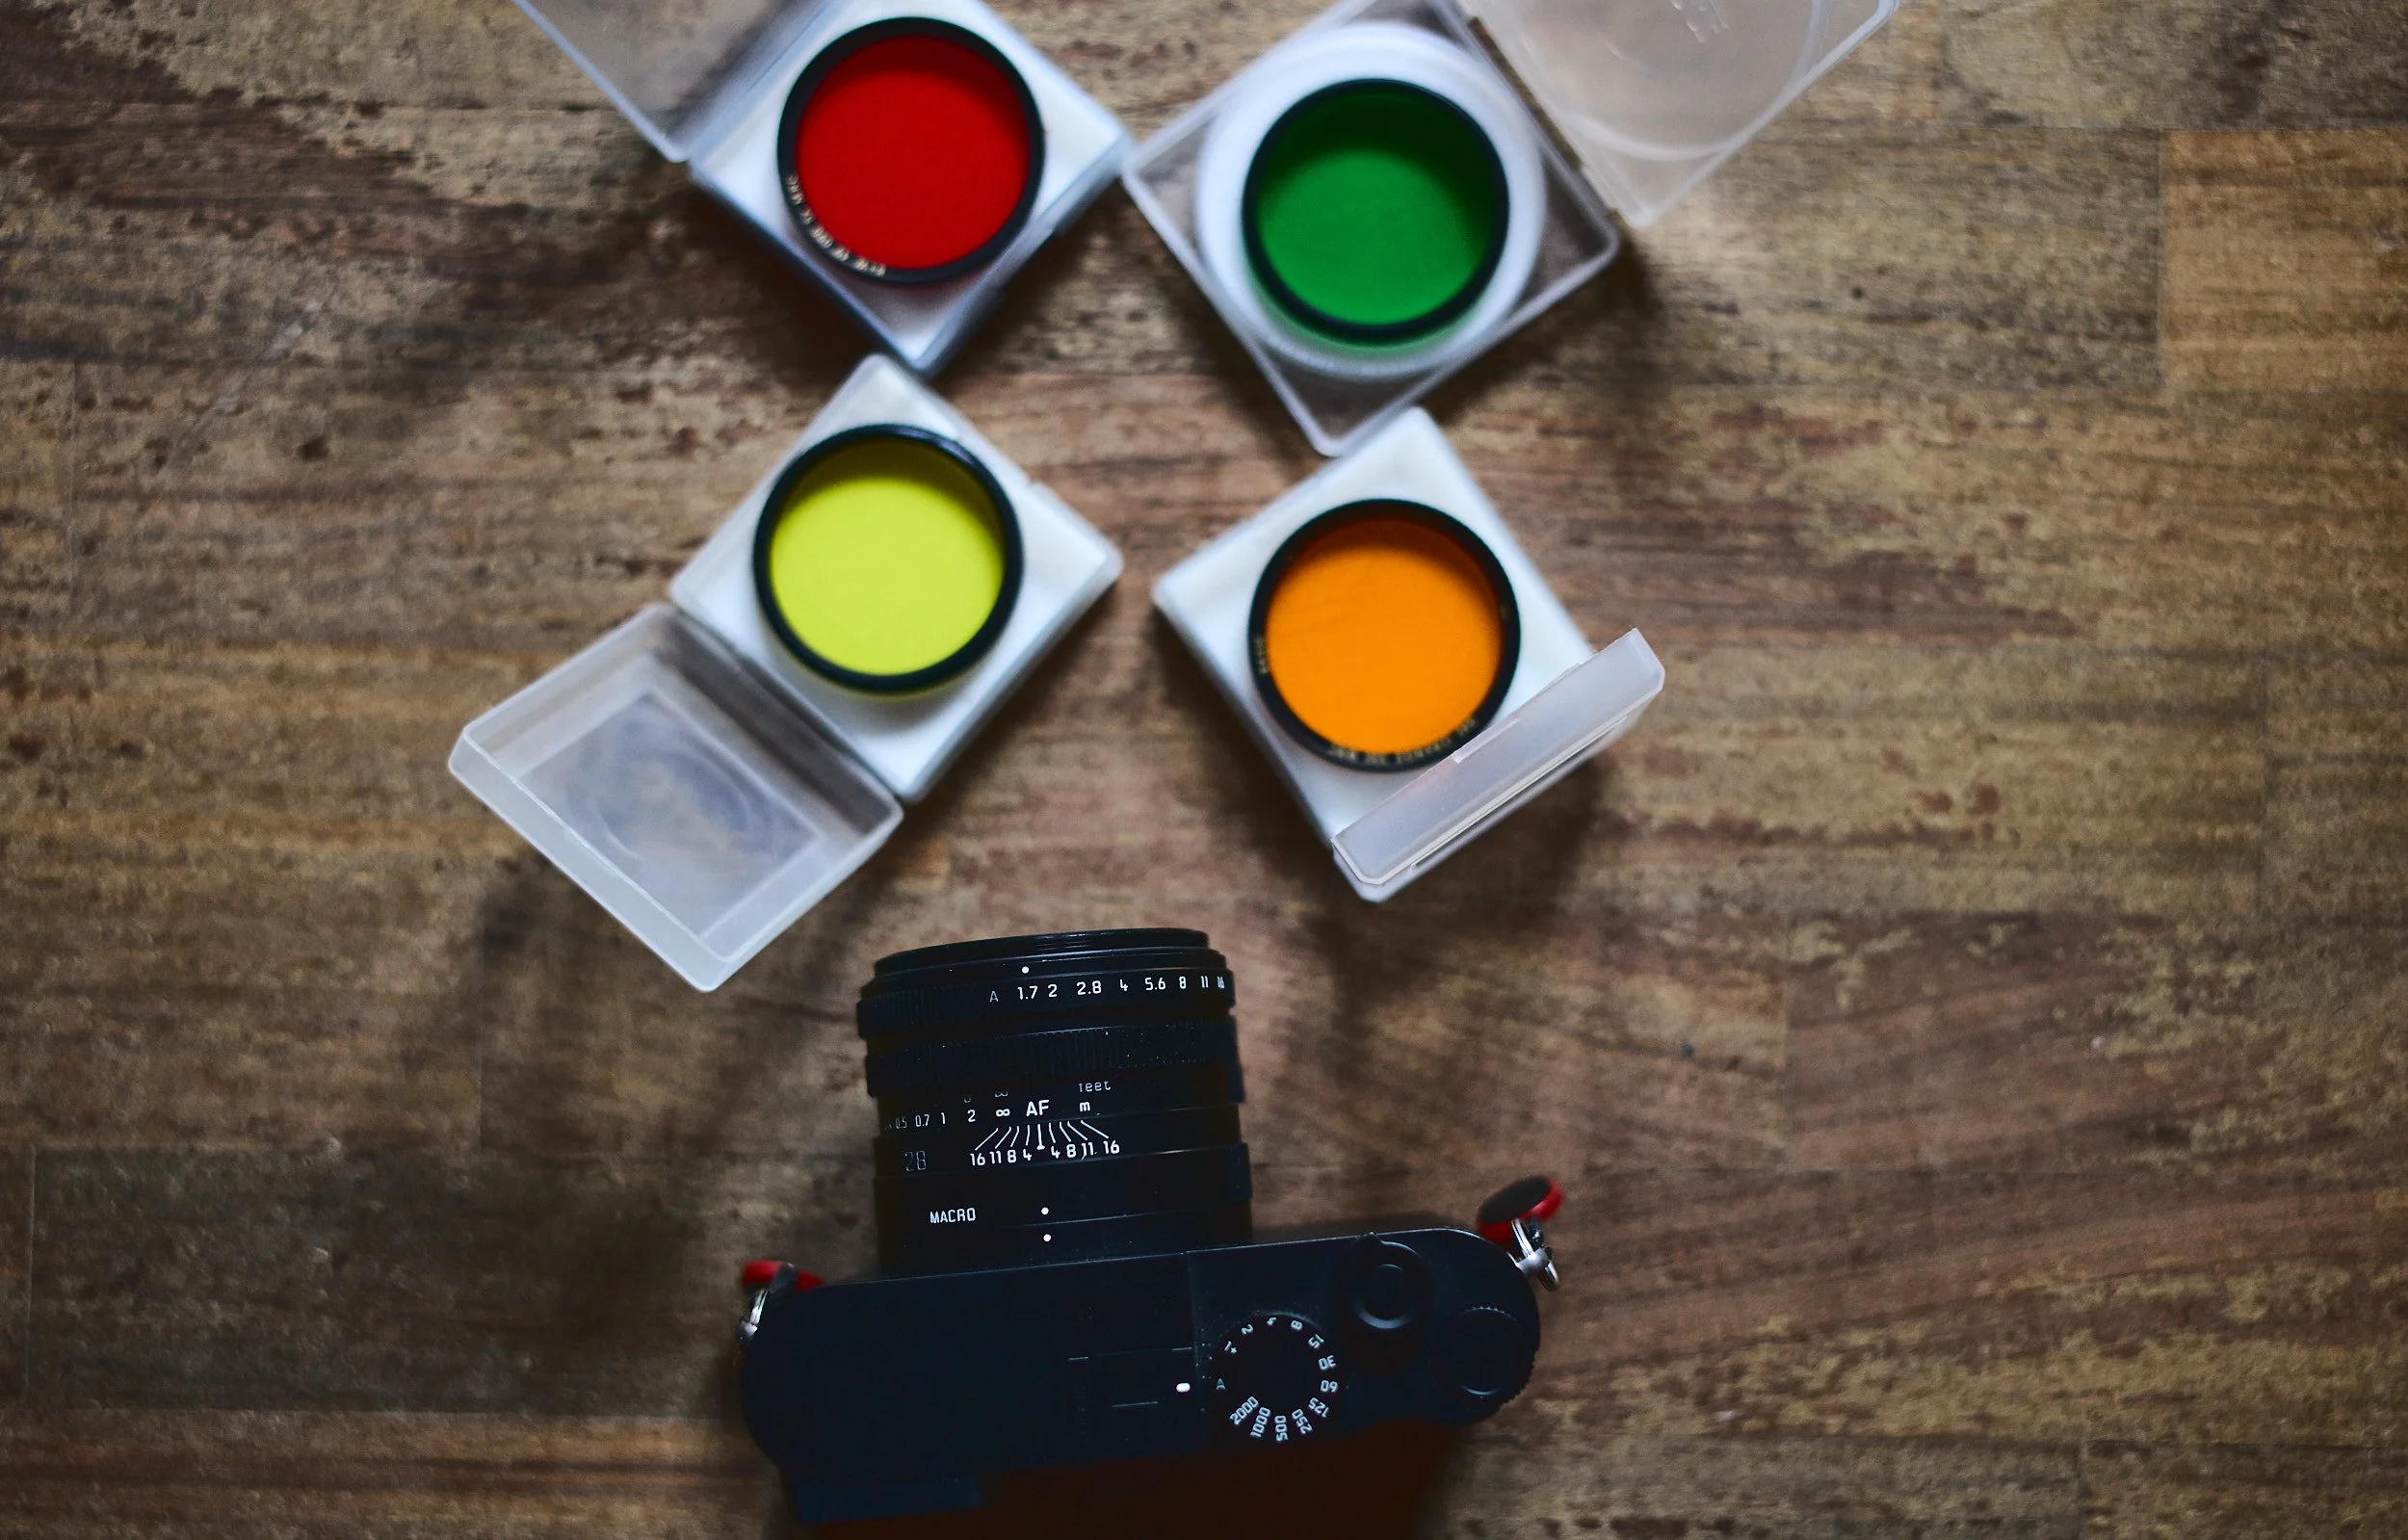
Leica Q2 Monochrom and color filters. My setup.
Color Filters
Since we’re using a high-end camera with one of the best wide-angle lenses available on the market today, my advice is to buy the highest-quality filters you can find (and no, they won’t be easy to find these days). Personally, I’ve chosen B+W and Leica filters. These filters allow you to adjust contrast and tonal sensitivity without any loss of image quality. The most important ones are red, orange, and green. The Leica Q2 Monochrom is a panchromatic camera, which means it is almost equally sensitive to different wavelengths of light… but with a slight preference for yellow. So, in my experience, the yellow filter is less essential, but it can also be interesting to exaggerate this slight “preference”….
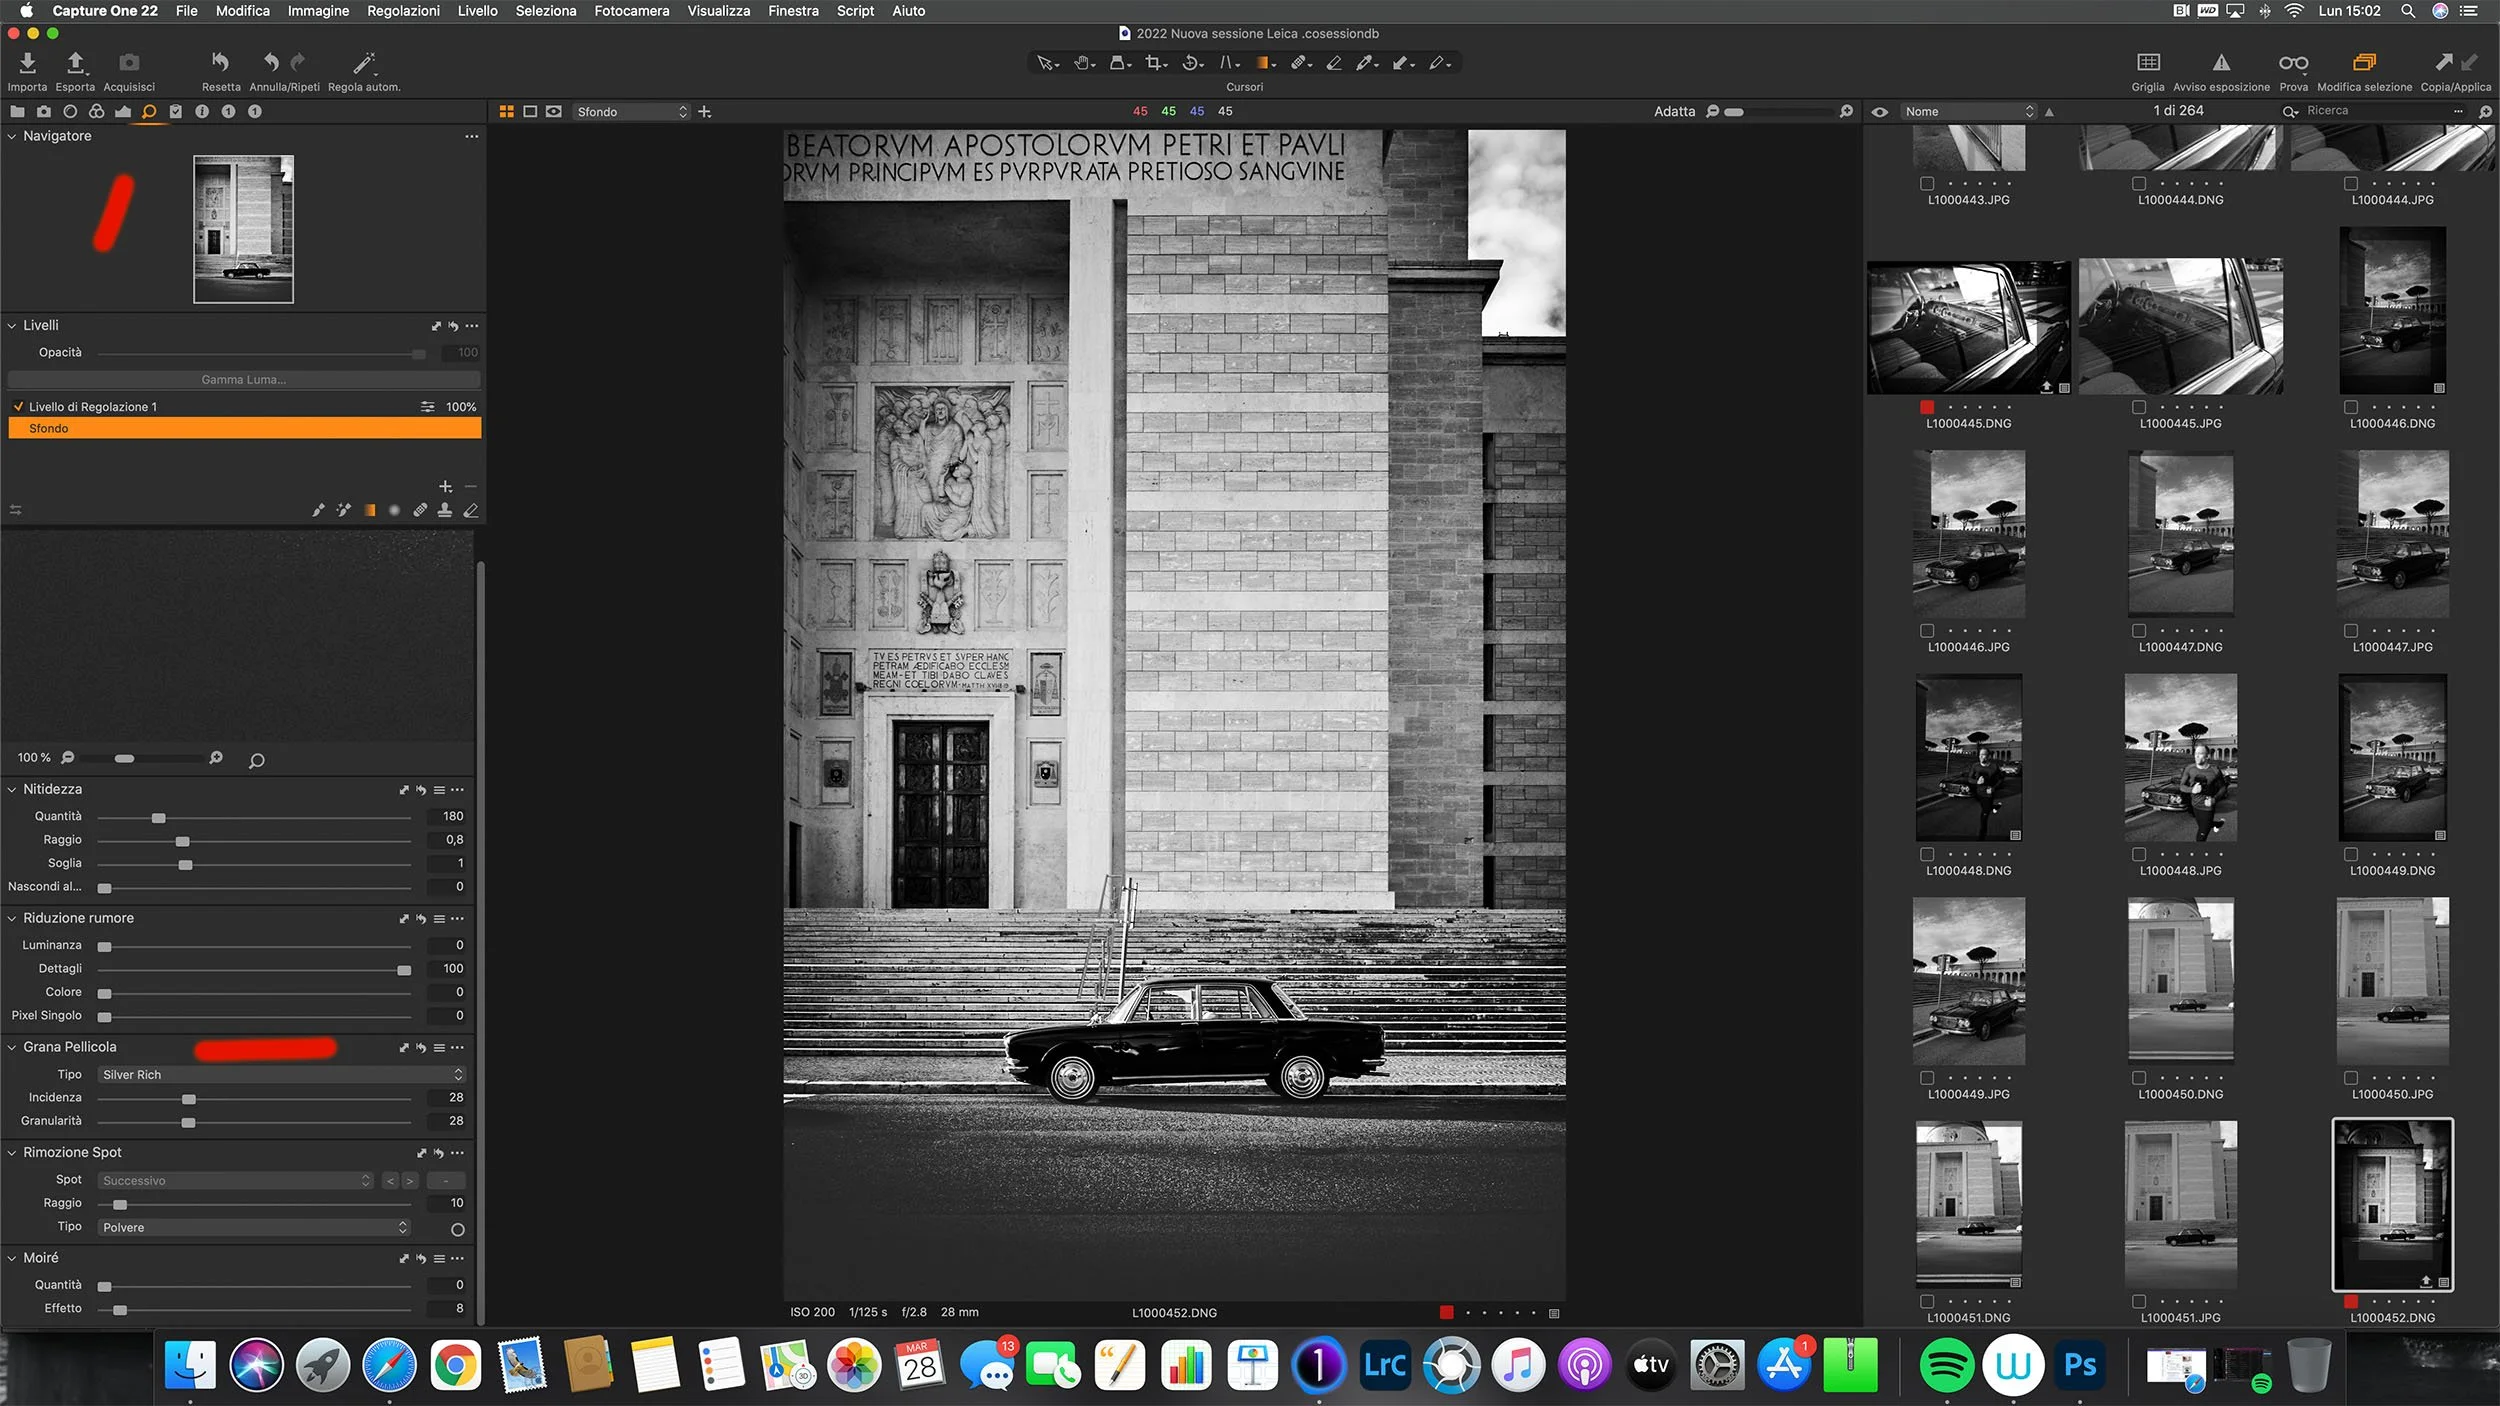
Capture One 22 Pro
The decision to use Capture One comes down to image quality. As of today, it is the most powerful, comprehensive, and highest-quality RAW converter available on the market. It is also faster than almost all of its competitors (Exposure X is even faster). It has been the industry standard for several years now. Its most famous competitor, Lightroom, is objectively trying to close the gap by copying some of its color management tools, but as of today, it is still far behind (March 2022). When it comes to monochrome cameras, Capture One offers a crucial advantage: layers. This makes it possible to work in different ways with dodge & burn techniques extremely quickly. But Capture One also has its advantages for traditional color cameras, starting with the best camera profiles for every brand and manufacturer. We’ll discuss this in a future tutorial.
Shooting in challenging conditions: high ISO settings and/or high-contrast scenes.

ISO 4000, extremely high-contrast scene.
This is a really complicated (ISO 4000) and highly controversial situation. What you see above is how I organize my workspace. C1 lets you organize it however you like. My preferences are as follows: 3 small preview thumbnails per row on the left, a large central window where I can work and clearly see the photo I’m editing, and the tools on the left.
In the screenshot above, by pressing the “Y” key (part of the default keyboard shortcut settings, which are also fully customizable), I’m showing you the original photo on the left and the final, edited version on the right. As you can see, I’ve significantly increased the contrast while reducing the exposure to avoid blowing out the highlights. You can see the extent of these adjustments directly on the tools on the left.
Remember: this camera lets you recover details from the shadows that would otherwise be lost, but anything blown out in the highlights is gone for good. It can’t be recovered. So be careful both when shooting and in post-production. In any case, the photo in question needed an extra “boost”….

The mask created using a linear gradient (and later refined using a Wacom graphics tablet, which is the best tool you can have for post-production and for speeding up the post-production process itself)

The sliders shown here apply to the layer in question (Adjustment Layer 1) and not to the entire image.
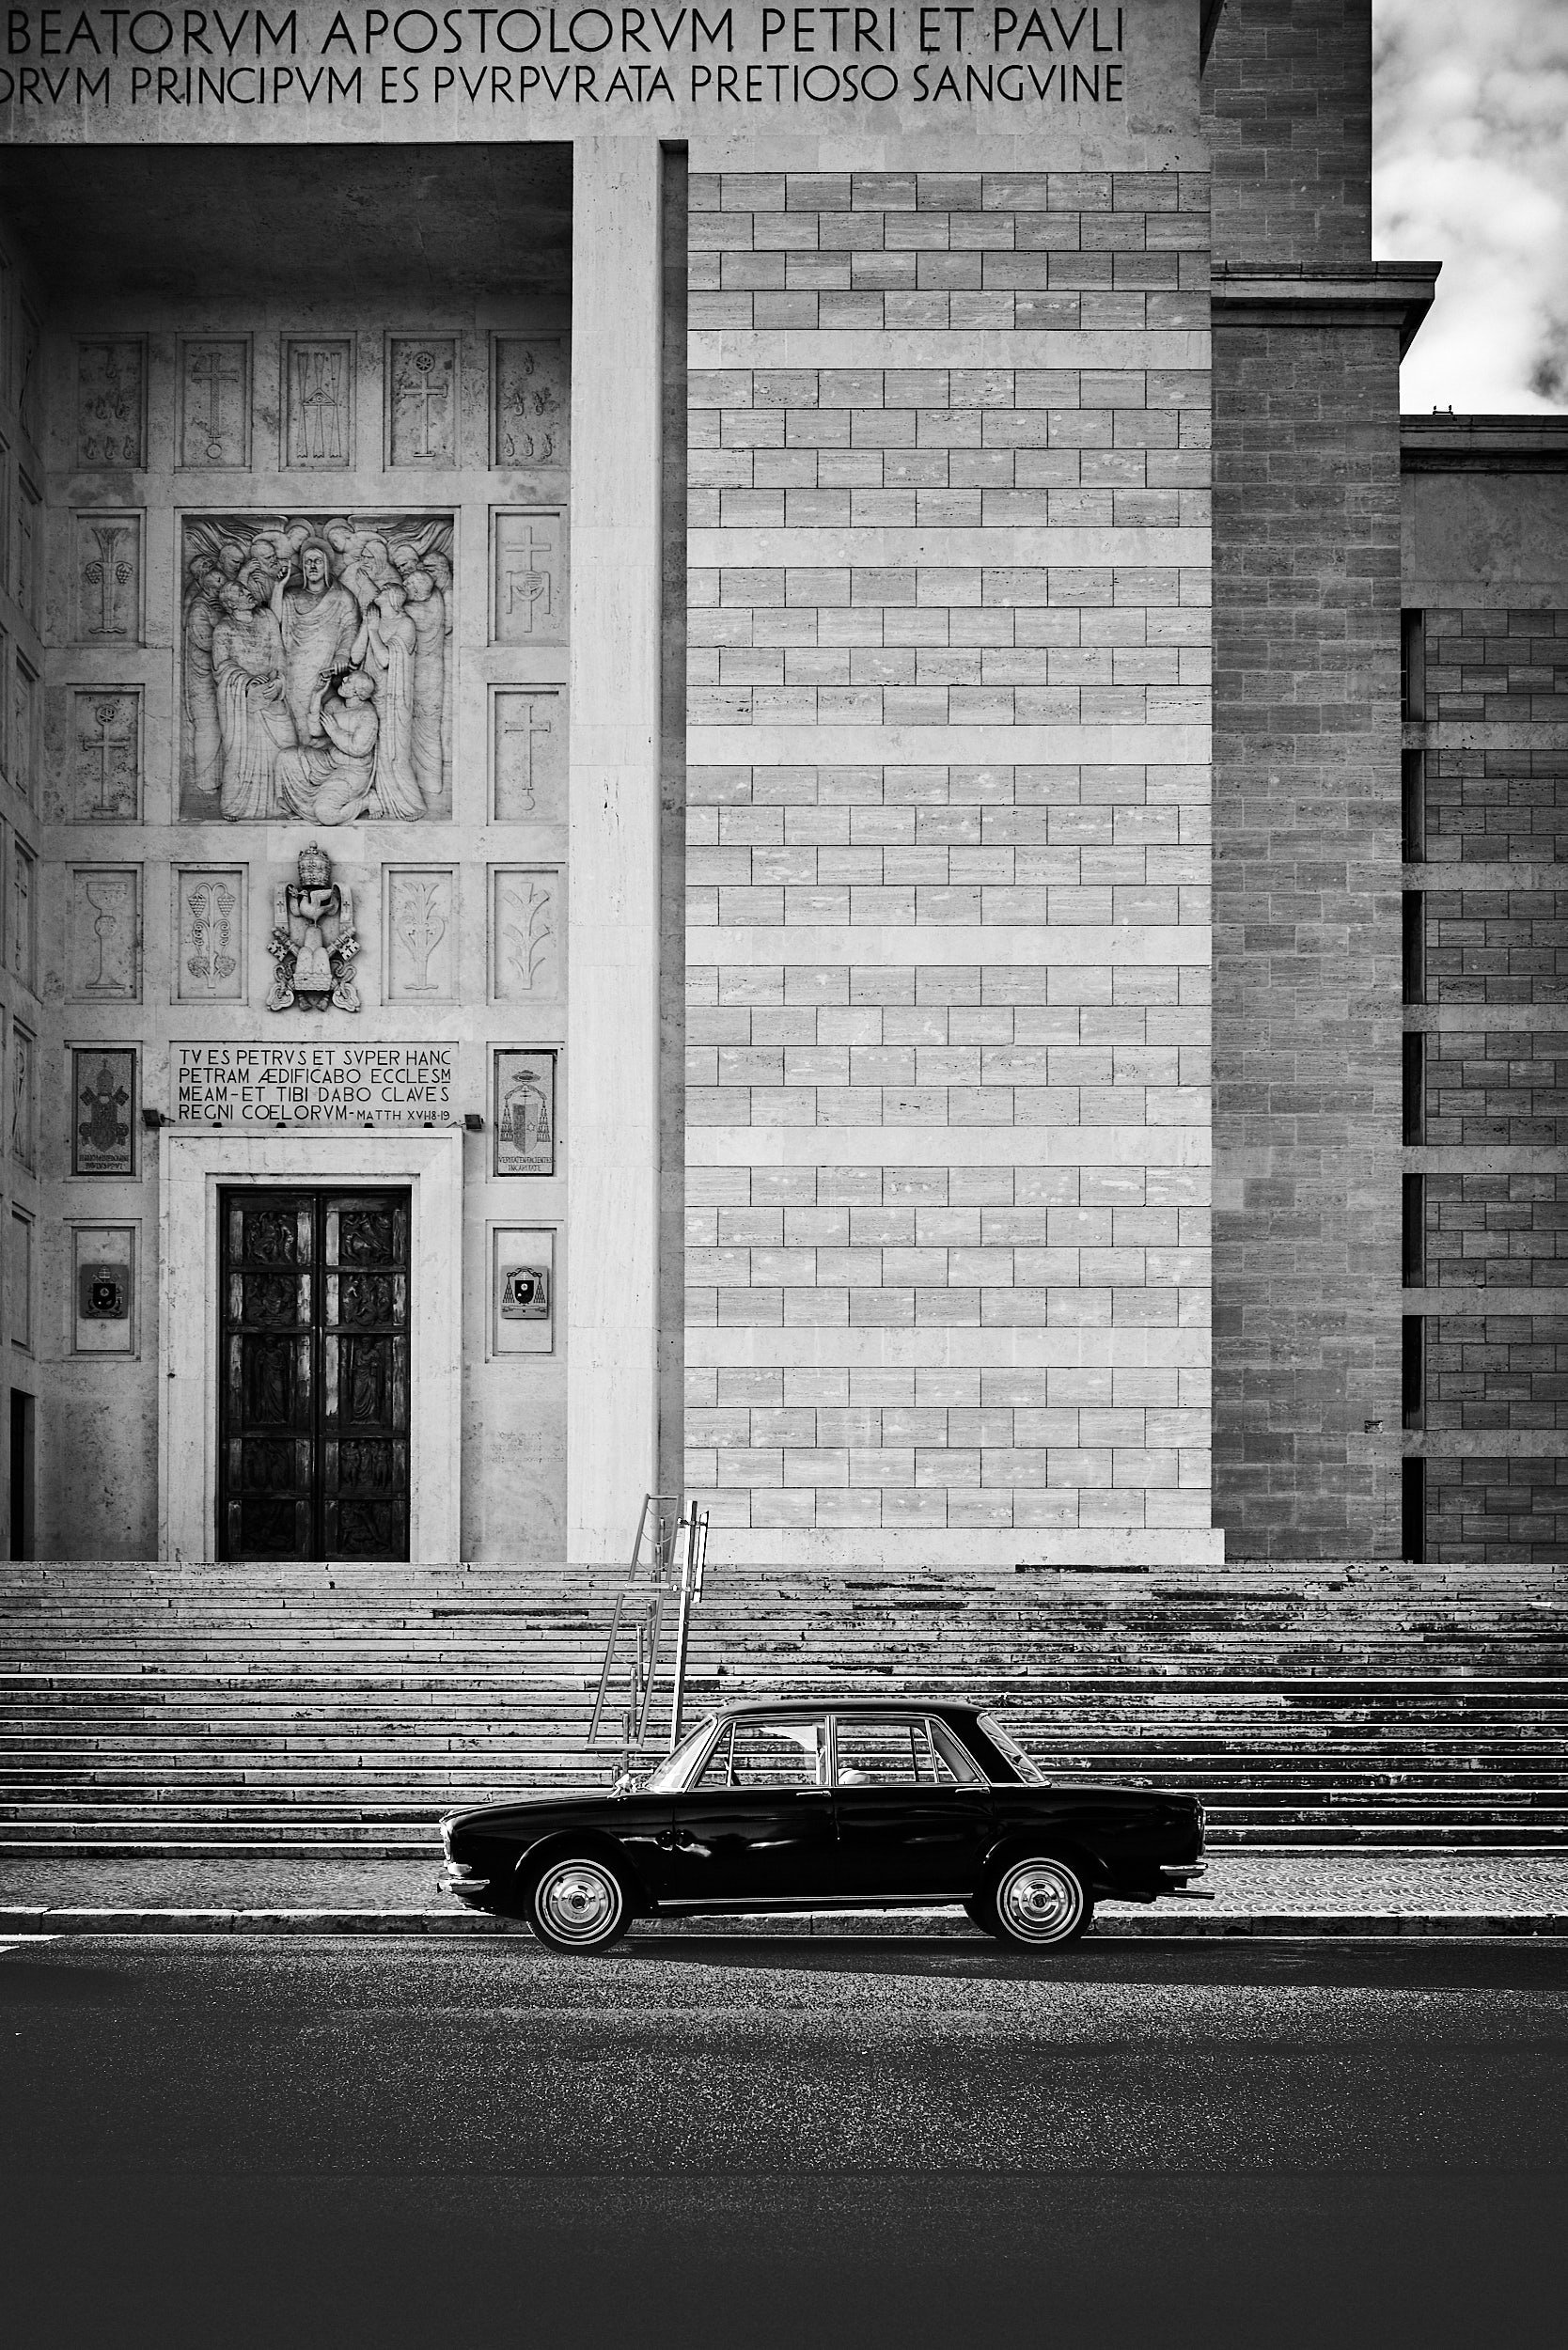
As you can see from this screenshot (above), I disabled a layer where, using a mask created very simply with a linear gradient, I increased the exposure in the lower part of the frame by 1.47 EV. I also opened up the shadows by as much as +100 (which is equivalent to about 2 EV, or 2 stops). The layer’s opacity was set to 100% (top left), resulting in a final increase of 3.5 stops in the lower part of the photo. This was clearly an extreme scenario with extremely high contrast. But this camera is FANTASTIC. Below is the final result:

Next Level: Color Filters on a Monochrome Camera (Leica Q2 Monochrom)
To use filters properly, you need to think in terms of colors. I’ll use the red filter as an example.

Leica Q2 Monochrom + B+W Red Filter
As you can see, the sky is quite dark (the red filter significantly darkens the blue tones, while conversely, red, orange, and similar colors are lightened to the same extent). The clouds stand out against the sky, almost as if it were an infrared shot. The contrast is quite high, and was further increased in Capture One 22.
Below you can see the various steps, including the mask.

Basic level - adjustments to the background level

Setting at Level 1 (Setting Level 1)

Level 1 disabled (Level 1 adjustment). Just to show you the differences.
As you can see, layers and a graphics tablet make all the difference in the world, since you can achieve the impossible with these files. You can increase or decrease the contrast to your liking without introducing any artifacts. You can increase the exposure by 3.5 stops on a photo shot at ISO 4000 without introducing noise (equivalent to approximately ISO 36,000…or so). Personally, I use a Wacom tablet, and it’s the easiest and fastest way to post-process and create your masks in Capture One or Photoshop.
My advice, in any case, is to increase the contrast without compromising the incredible richness of the grayscale that this camera offers.
Since the grain looks really nice in black and white and this is an exceptionally clean camera, I recommend adding a little bit of it every now and then. My favorite is Silver Rich in Capture One.
You can find it here:
Although the most beautiful grain I’ve ever seen was found in another exceptional raw converter: Exposure X. It’s another program I love and use regularly. In Exposure X, you’ll find hundreds of presets, grains, and other details scanned directly from classic films such as Tri-X, Neopan, Kodachrome, etc.
This is my basic workflow for processing files from the Leica Q2 Monochrom.